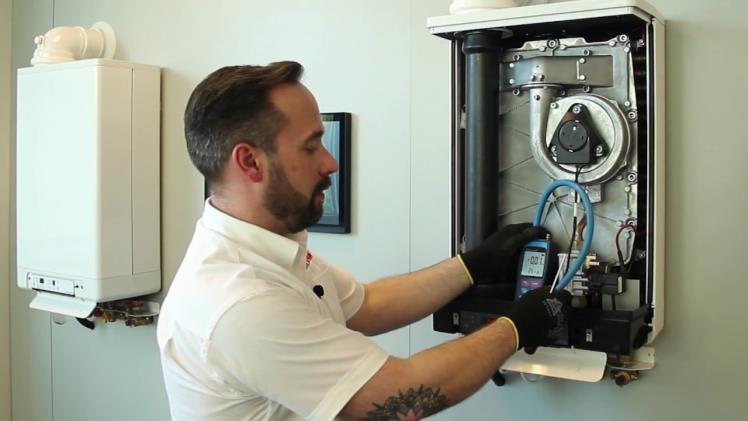
Maintaining the correct pressure in your Intergas boiler is crucial for ensuring optimal performance and energy efficiency. Over time, the pressure in your boiler system may drop, leading to issues like reduced heating efficiency or the boiler shutting down altogether. Fortunately, topping up the pressure is a simple task that can be done without the need for professional assistance. This article will guide you through the steps to safely and effectively top up the pressure on your Intergas boiler.
Understanding Boiler Pressure
Before diving into the process, it’s essential to understand what boiler pressure is and why it matters. Boiler pressure refers to the pressure of the water circulating in the closed loop of your heating system. This pressure is vital to ensure the effective functioning of your boiler, ensuring that hot water circulates through your radiators and taps.
Typically, the pressure gauge on your Intergas boiler should read between 1 and 2 bar when the system is cold. If the pressure drops below this range, your boiler may struggle to function correctly, leading to cold radiators and potential damage to the system.
Causes of Low Boiler Pressure
Several factors can cause your Intergas boiler pressure to drop:
- Leaks in the System: Even small leaks in the pipework or radiators can lead to a gradual loss of pressure.
- Bleeding Radiators: When you bleed your radiators to remove trapped air, it can also lead to a drop in pressure.
- Natural Loss of Pressure: Over time, all sealed systems may experience a slight reduction in pressure due to the release of air or the movement of water within the system.
How to Top Up the Pressure on Your Intergas Boiler
Topping up the pressure on your Intergas boiler is a straightforward process that typically involves using the filling loop. Here’s how to do it:
1. Turn Off the Boiler
Before you start, Make sure your boiler is switched off and has cooled down. This step is crucial for safety and to get an accurate reading of the current pressure.
2. Locate the Filling Loop
The filling loop is typically a flexible, silver hose located below the boiler, linking it to the main water supply. There are typically two taps, one on each end of the hose.
3. Open the Valves
Gradually open both valves on the filling loop to allow cold water to enter the system. Keep an eye on the pressure indicator as the pressure begins to rise.
4. Monitor the Pressure Gauge
As you add water, watch the pressure gauge carefully. Once it reaches between 1 and 2 bar, close the valves. It’s essential not to overfill, as too much pressure can cause the pressure relief valve to activate and drain the excess water, leading to more issues.
5. Turn the Boiler Back On
After closing the valves, turn your Intergas boiler back on. Check the pressure again once the system has warmed up. It should remain steady between 1 and 2 bar.
When to Seek Professional Help
While topping up the pressure on your Intergas boiler is generally a simple task, recurring issues with low pressure may indicate a more serious problem, such as a leak in the system or a faulty pressure relief valve. If you find yourself needing to top up the pressure frequently, it’s advisable to consult a professional heating engineer to inspect your system.
Conclusion
Regularly checking and maintaining the pressure in your Intergas boiler is an essential part of boiler care. By following the steps outlined above, you can ensure that your heating system operates efficiently and reliably, providing warmth and comfort in your home throughout the colder months.
Click the link below to find out more!

